testmail.app supports SAML 2.0 for Single Sign-On (SSO), allowing users to seamlessly log in to testmail.app without needing to create a separate account. If you are using OneLogin as your Identity Provider, you can connect your testmail.app organization to OneLogin to set up Single Sign-On. This guide will walk you through the steps to set up SSO via OneLogin.
This feature is only available for enterprise customers.
Setting up Application in OneLogin
Sign in to your OneLogin account as an administrator. Navigate to Applications → Add App. Search for SAML and select SAML Custom Connector (Advanced) from the list. Name the app Testmail App and upload your logo and save the App.
SAML Configuration
The following settings should be configured in OneLogin to setup SAML 2.0:
- Audience:
https://testmail.appThis URL should match the Audience URI in Testmail SAML configuration.
- Recipient:
https://sso.testmail.app/saml- ACS (Consumer) URL Validator:
^https:\/\/sso\.testmail\.app\/saml$- ACS (Consumer) URL:
https://sso.testmail.app/samlOther fields are optional. The configuration should look similar to the screenshot below:

- SAML signature element:
Select Both as the SAML signature element

- Parameters:
Navigate to parameters tab (available at the left panel). To add parameters click on the + (Add) symbol.

It is mandatory to set the below parameters with the same field-name mentioned (case sensitive).
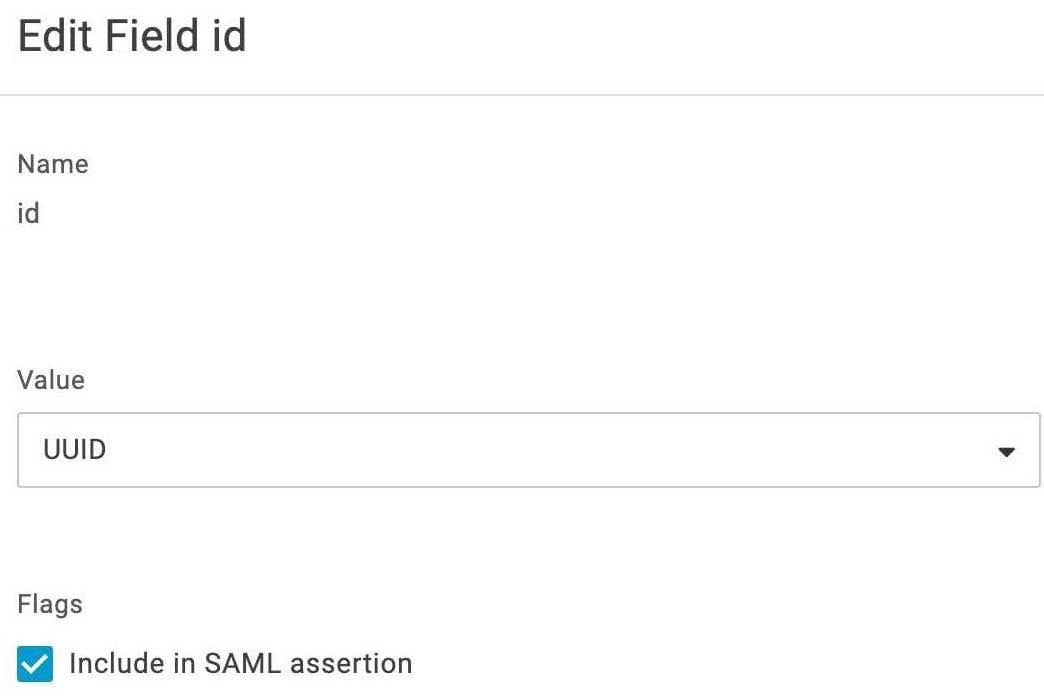
- id
Check the Include in SAML assertion flag and click save. The value should be a unique descriptor for the user (Can be UUID/email or any other field).
- name
Check the Include in SAML assertion flag and click save. Set the value to Name. - email
Check the Include in SAML assertion flag and click save. Set the value to Email. - role (Optional)
If you wish to pass the role for the user, you can set this field to either "Member" or "Admin." Note: If no role is passed, the user will be assigned the "Member" role by default.

- SAML Signature Algorithm:
Navigate to SSO tab (available at the left panel) and set the SAML Signature Algorithm as SHA-256

Integrating in testmail.app
Navigate to your console → Settings → Setup single-sign-on (SSO) with SAML 2.0.
After configuring the required fields, your SSO setup will be submitted for review. Our technical team will verify the settings, and you will receive an email notification once the integration is activated.
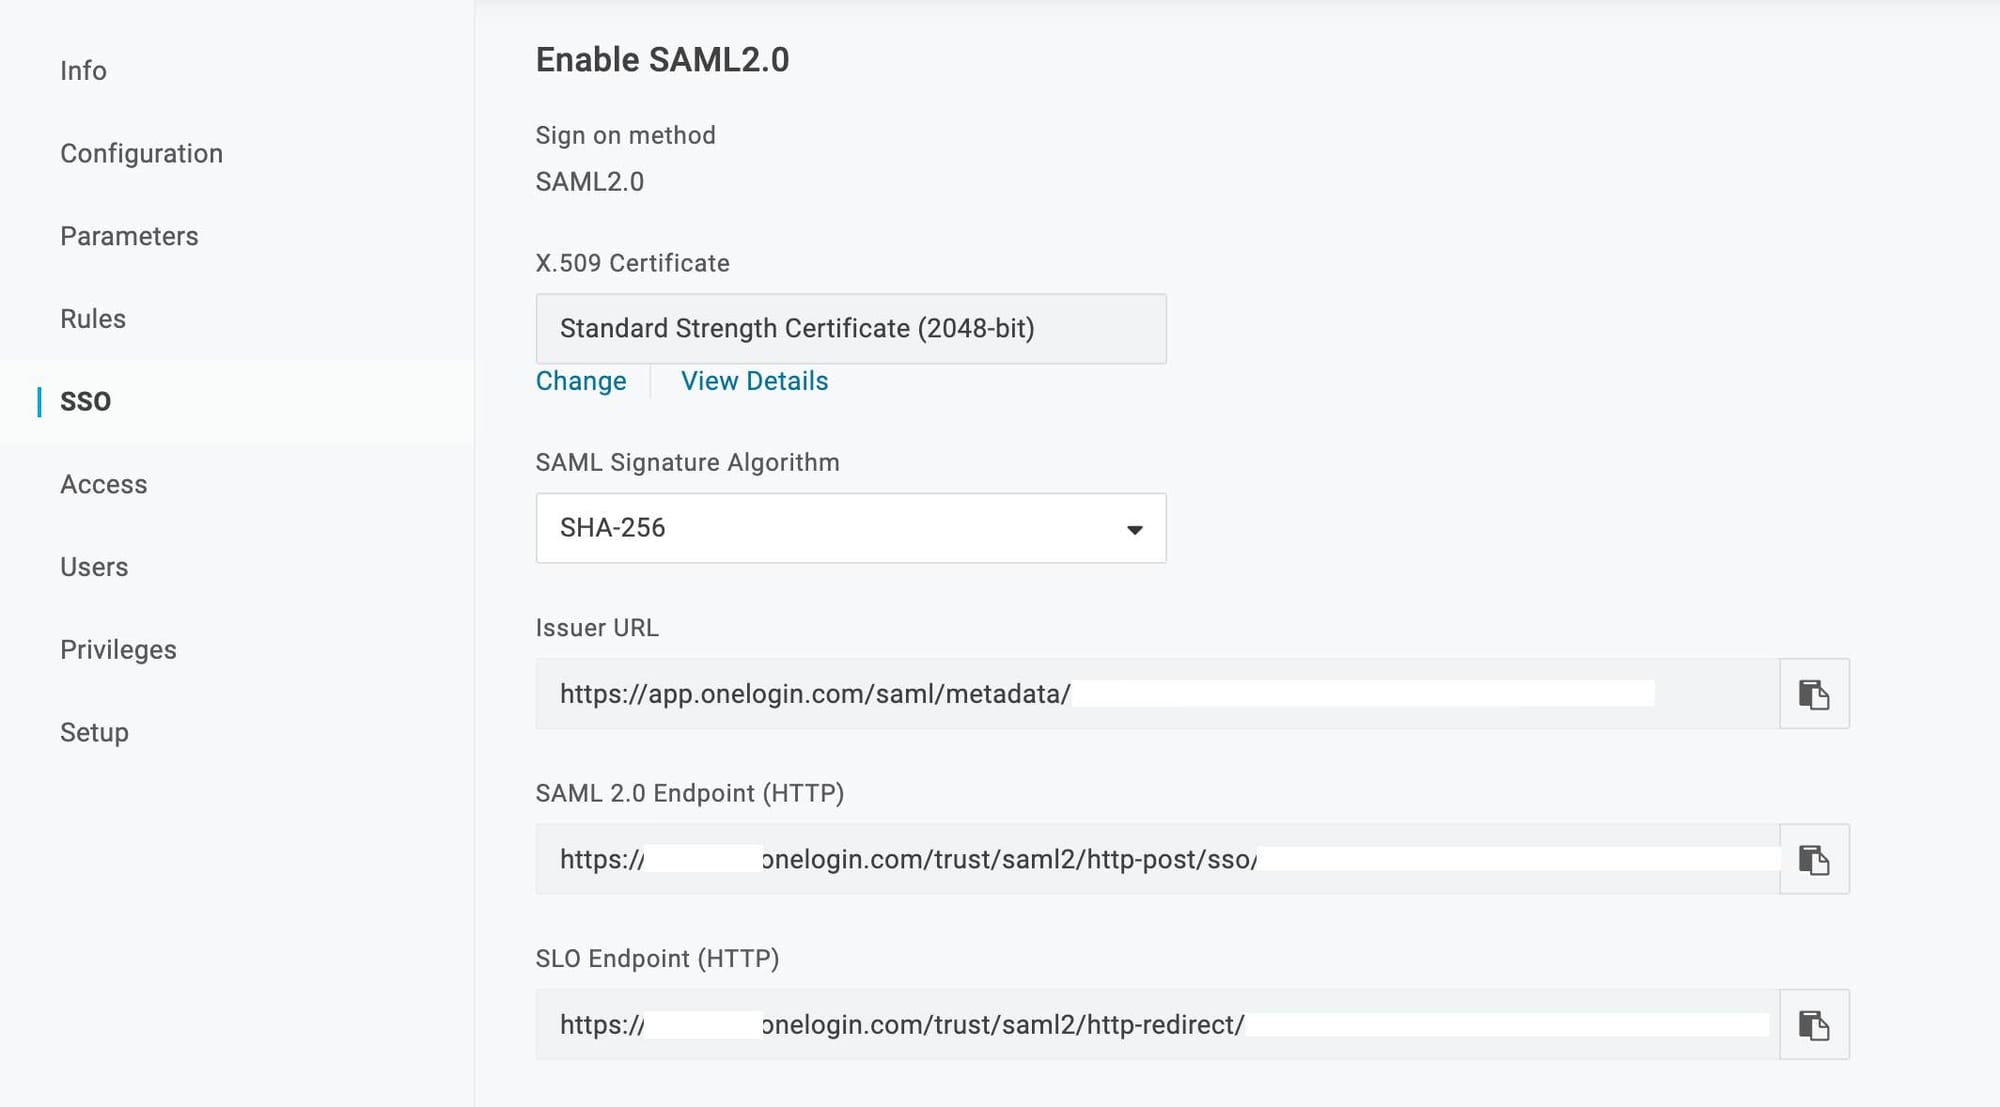
- IDP entity ID (Issuer URL):
Copy the Issuer URL. - SP Entity ID (Audience URI):
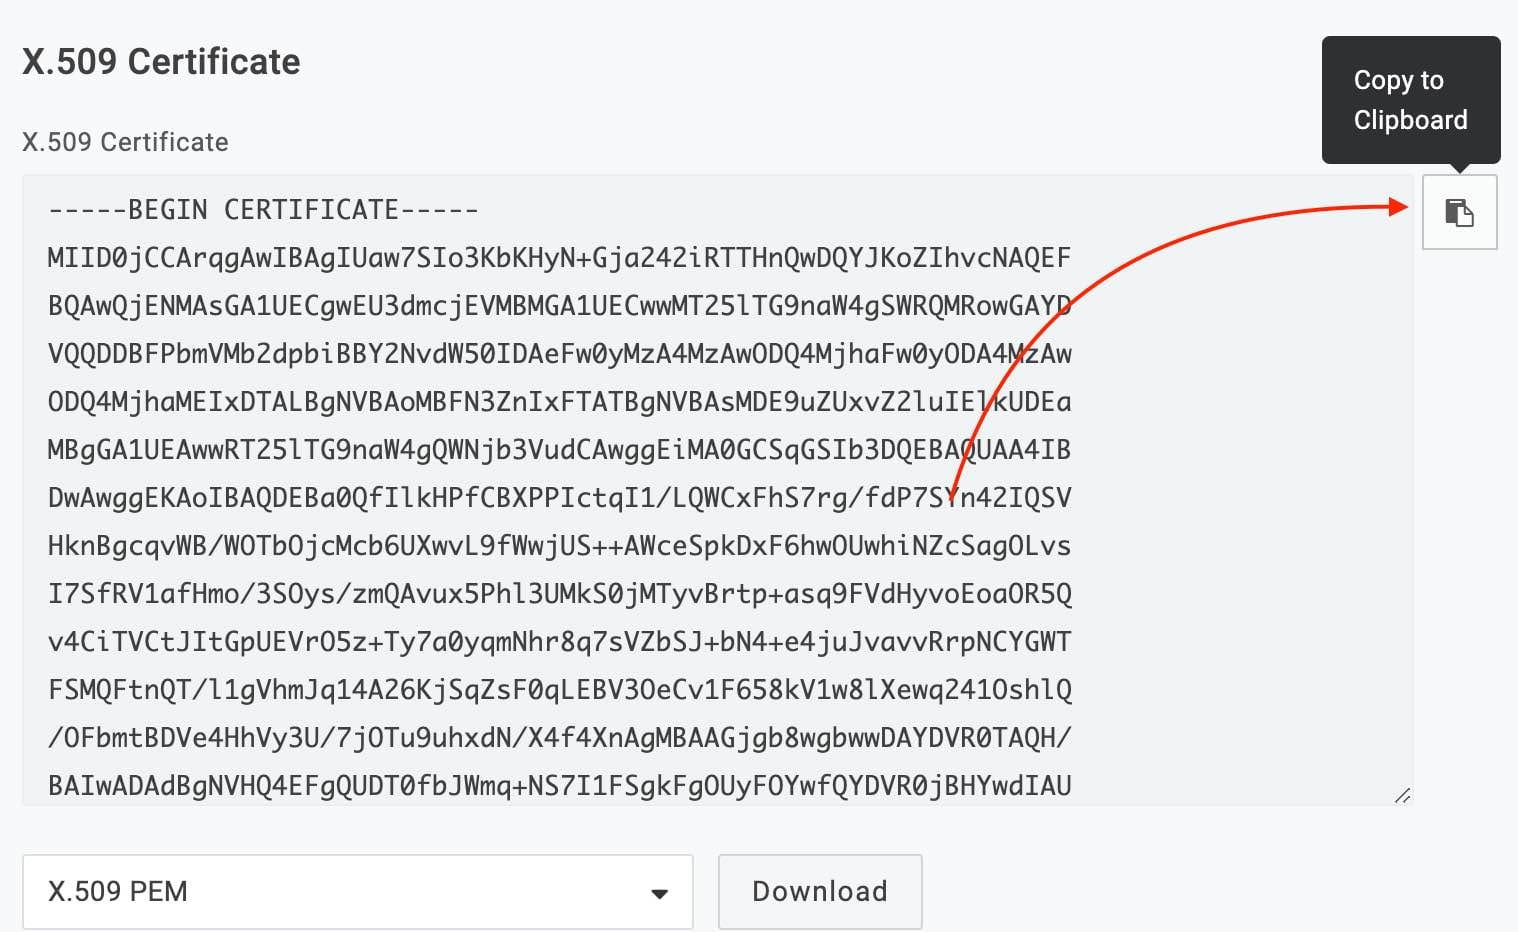
https://testmail.app- X509 Certificate:
To get the certificate, click on view details and copy it.
- Remote Login URL:
Copy the SAML 2.0 Endpoint (HTTP). - Allowed Domains: Configure the domains according to your organization to implement Single Sign-On (SSO) for those domains. Note: If SAML Single-Sign-On is enabled and new domains are added in the future, they will be placed under review. Your current SSO setup will remain active for the existing domains.
- Click Save Configuration:
Upon clicking, a confirmation message will pop up stating that your settings are saved and under review, and our technical team has been notified.
Need help?
Please feel free to reach out at [email protected] for any help regarding SAML integration for Single-Sign-On via OneLogin.